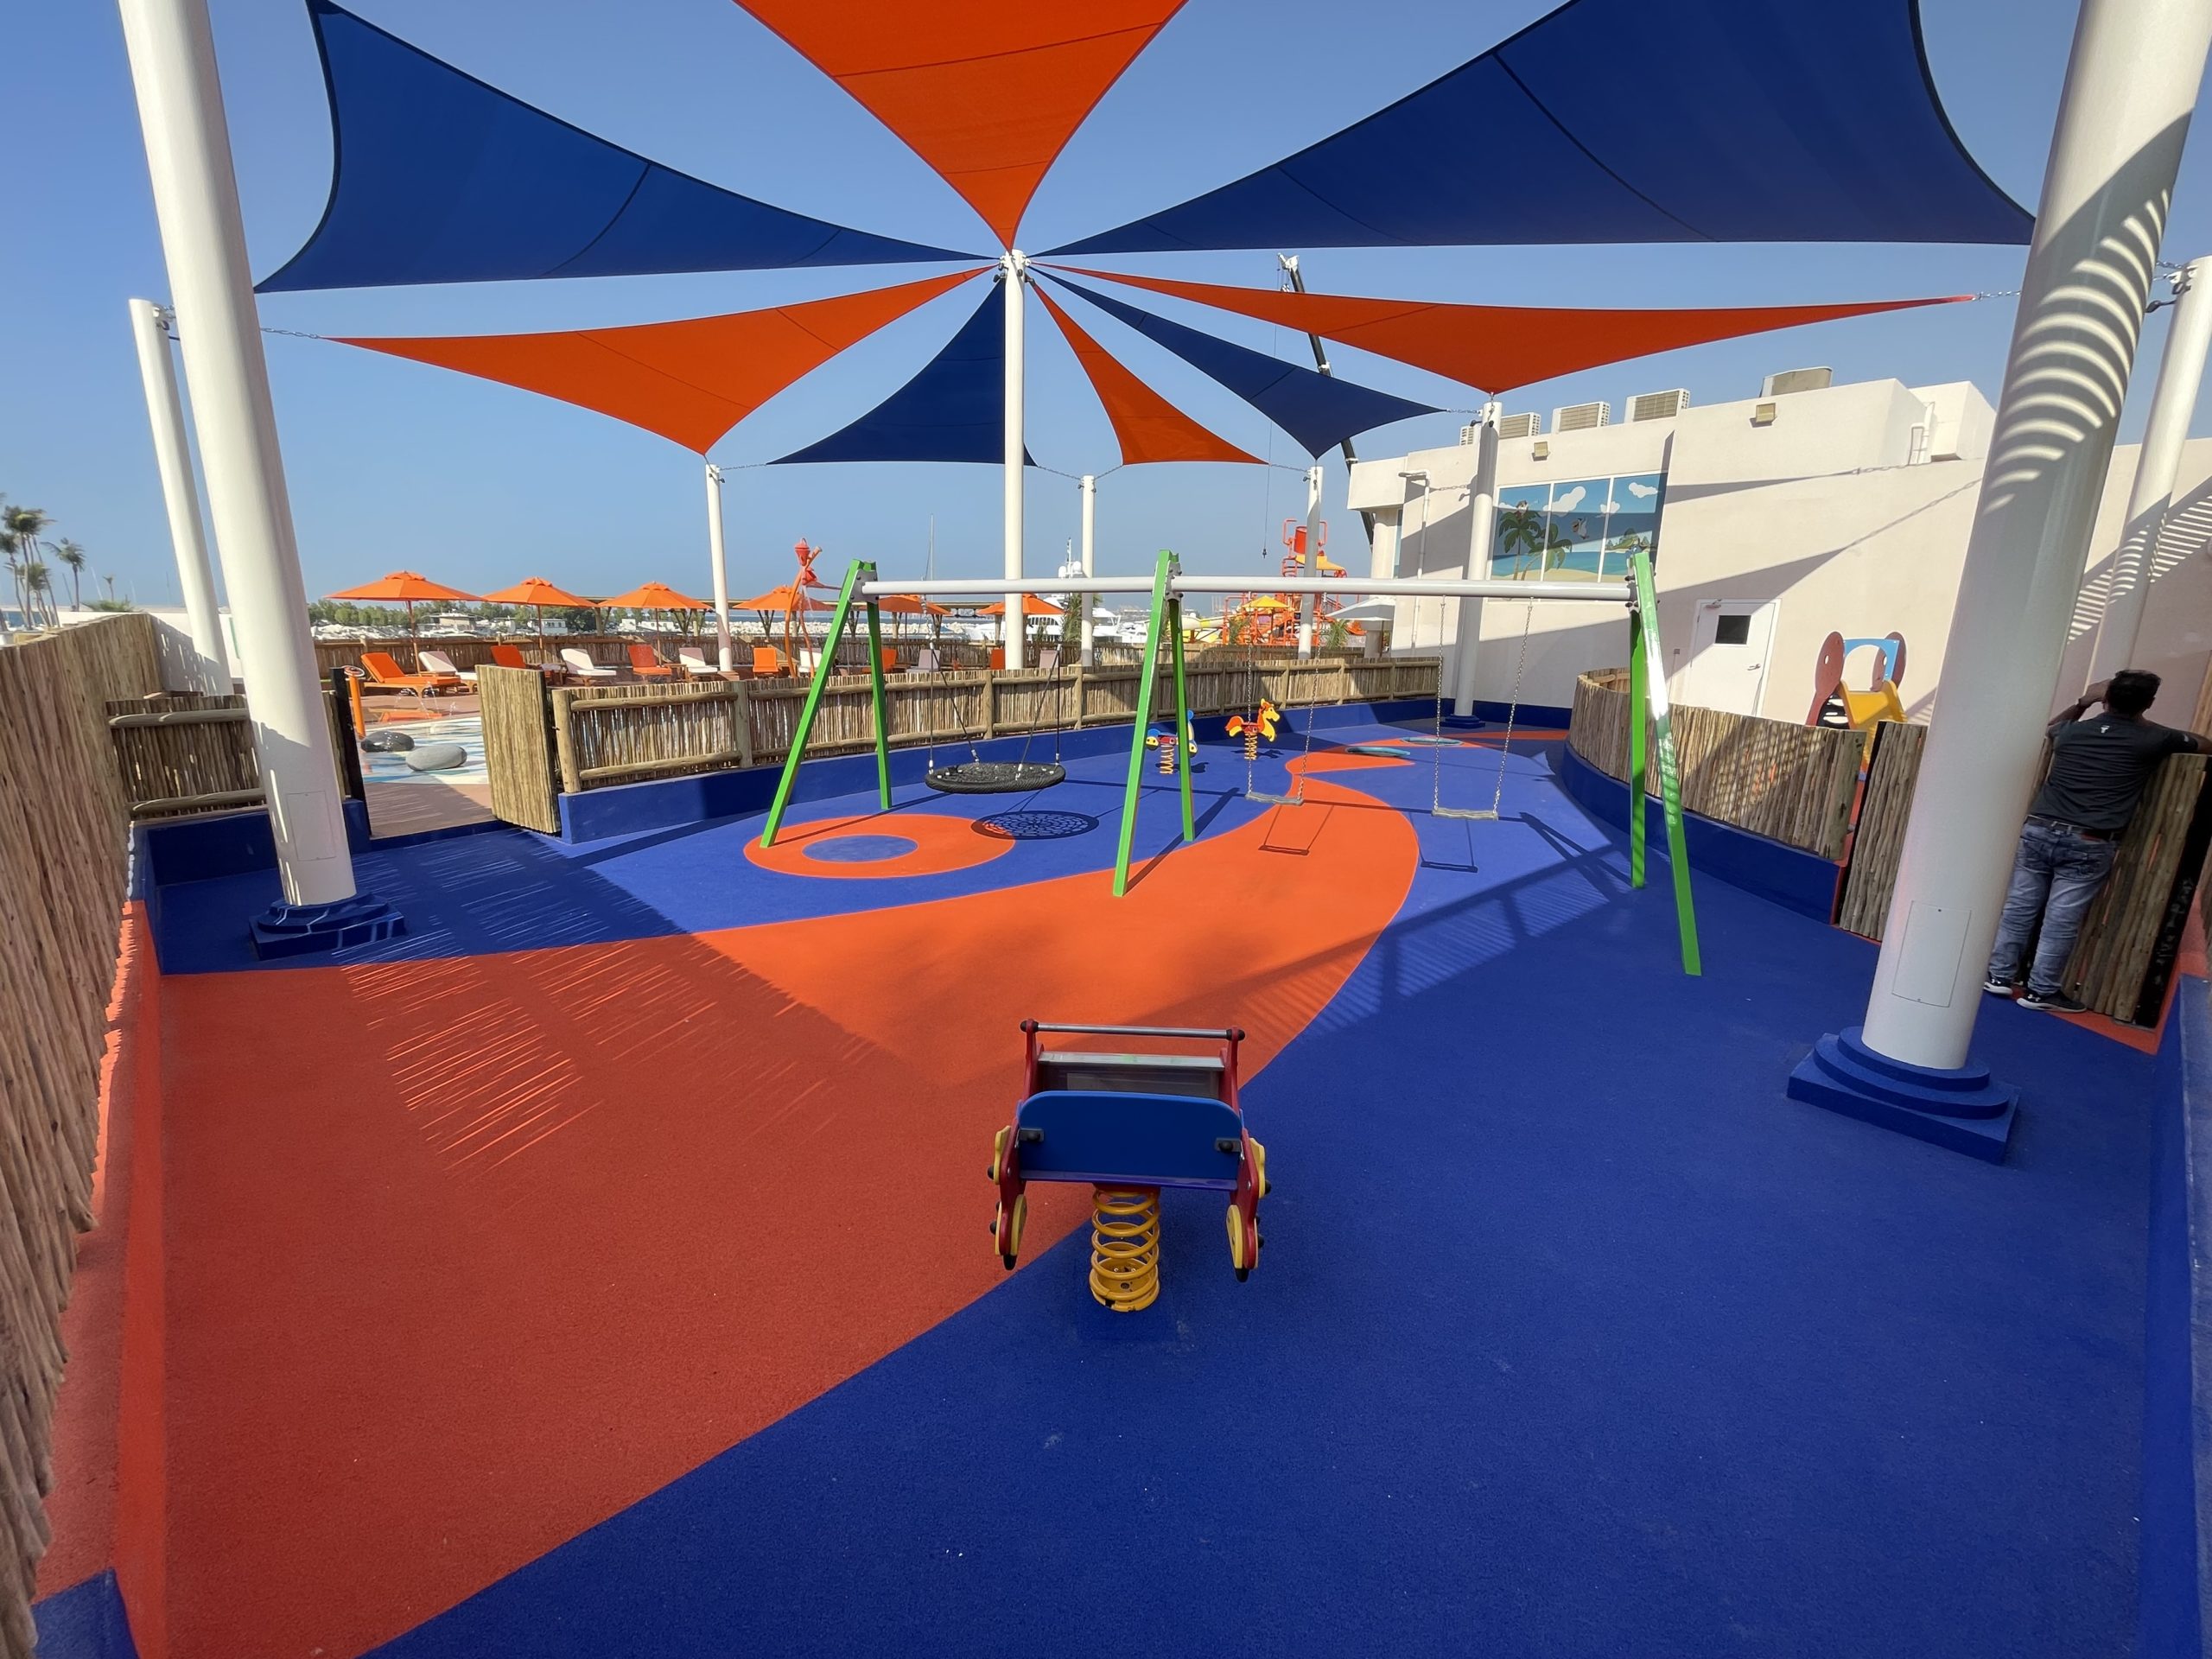
Rubber flooring is a popular choice these days and fits your workout spaces, playrooms, and other high-traffic areas’ needs due to its durability, shock-absorbing properties, and ease of maintenance. However, there may come a time when you need to remove your rubber flooring, either because it has reached the end of its lifespan or because you want to replace it. Whatever your reason, with Terrain Rubber Flooring solutions, removal is as easy as installation and can be done without professional help in most cases. Here are some tips and tricks to help make the process as smooth and easy as possible.
Step 1: Know your flooring
If your flooring is the interlocking type, like the Terrain ECO interlock, or the Terrain Vulcan Linkmats, removing the flooring should be as easy as pulling apart a puzzle! If your rubber flooring is glued on the floor or fixed with pins, the next few steps should help you.
Step 2: Gather Your Tools
Before you get started, you’ll need to gather the tools you’ll need to remove your rubber flooring. Here’s a list of the most essential tools:
- Safety glasses and gloves
- Dust mask
- Utility knife
- Pry bar or chisel
- Hammer
- Floor scraper
Step 3: Prepare the Area
Once you’ve gathered your tools, it’s time to prepare the area for the removal process. Start by removing furniture, equipment, or other objects from the room. Cover any vents or openings with plastic sheeting.
Step 4: Cut the Rubber Flooring into Strips
Cut the rubber flooring into manageable strips. This will make it easier to remove the flooring.
Step 5: Pry Up the Strips
Once you’ve cut the flooring into strips, pry up each strip.
Step 6: Scrape Away the Adhesive
After you’ve removed all of the rubber flooring strips, you’ll need to scrape away any remaining adhesive.
Step 7: Clean Up
Once you’ve removed all of the rubber flooring and adhesive, it’s time to clean up. Use a broom and dustpan to sweep the entire room.
Removing rubber flooring can be as easy as is their installation with Terrain. Not only is it simple to do, but you can also access our services for easy removal or installation, whenever you need. Reach out to us with any questions or concerns about removing your rubber flooring. We’re here to help you every step of the way!


